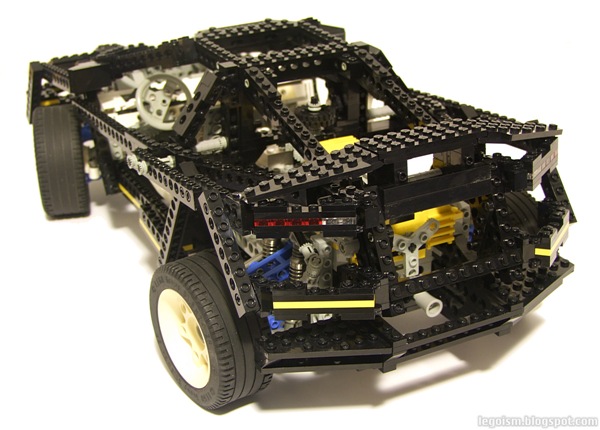
The 8880 Super Car is famous enough to be difficult to come up with anything about that hasn't been said already. But having finally acquired one and built it with great curiosity, I want to offer my bit to the Technic shrine.
In terms of functionality, complexity and breaking new ground, this car is still leading the pack of all the Technic cars so far, and is among the most important Technic sets since their beginnings in the late 1970's. It has the number of functions even modern Technic supercars (such as the 8070) hardly match, and is arguably the flagship of all studded sets.
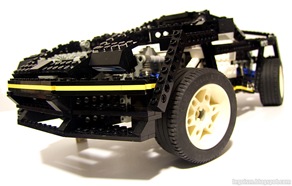 Its part count of 1434 seems modest compared to some heavy modern sets that surpass 2000 parts, but in fact, in terms of functionality it's brilliant. The count is rather explained by its bodywork: it's built from a skeleton of large beams that form contours, instead of being covered with panels, air intakes and other fiddly details that often consume dozens of parts. Agreeably, 8880 might look a bit rough-edged and crude for today's picky standards, but personally I like this building style a lot, and find its looks stellar. Besides, this bodywork was a huge improvement over its predecessor, the 8865.
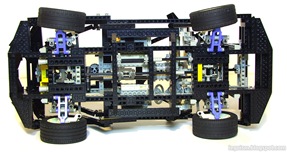
The feature list is, as mentioned, massive ― let's start with the suspension. While the 8865 Test Car already had the full independent double wishbone suspension, this was a first set which had this sort of suspension powered, thanks to a few newly introduced parts. All four wheels were powered, both pairs linked through a differential and, in turn, both pairs linked through a third differential, achieving complexity unheard of at the time. In addition, all four wheels are steered (rear a little bit less than front) ― which would make this car, if it were real, exceptionally agile.
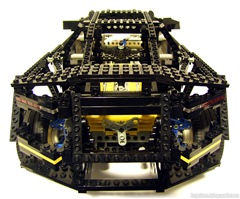 Central differential is connected to a 4-speed synchronized gearbox with H-pattern, another new Lego system which is still widely used today, and which is a solid step forward from the linearly controlled 3-speed unsynchronized version from the predecessor. It is connected with a chain to a mid-mounted V8 engine ― the first Technic car engine that used specialized engine block parts with round pistons (also widely used today) and moved away from complex but cumbersome square-pistoned engines with 24-tooth gear-based crankshafts. Number of mechanical parts involved in suspension, transmission and the engine is thus huge, and it feels as a significant resistance to the car moving.
The car is steered through both a hand-of-God wheel near the engine and the steering wheel in the cabin. Another control available to the driver is a lever that extends and retracts headlights, simply rotating them. Finally, the bonnet can be opened and held up thanks to a small arm.
The general construction of the chassis is very clever, using Technic beams and bricks with offset holes to mesh gears at half-stud distances where necessary. Due to nature of studded constructions, plates separating the beams are used throughout the entire chassis, but only where they really help reinforcing the structure, rather than just slamming them everywhere: sign of a well-engineered construction.
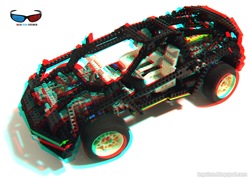 Returning to design, despite the beams being only real element of bodywork, one simply can't overlook the amount of effort put into obtaining the correct angles between them, with a combination of pins and horizontal joints. There are also subtle design gems placed all around the model ― a yellow line that runs along the bottom, rear wing slightly bent at the ends, engine radiators, detailed racing seats, dashboard with air ducts and instruments, rear lights, engine fan that turns together with the crankshaft, twin exhaust pipes, and wing mirrors. Also the wide, low tyres are a nice improvement over the off-roady foams typical for the previous cars.
As one would expect, building an 8880 is a great experience, but requires significant patience. Many steps require careful measurements, precise observation of schematics and occasional bending to fit components in place. In accordance with standards at the time, the building steps in the instruction booklet are very large and concentrated, often following several "threads" at various places in the car at once. Almost like the mid-90's idea books!
 It took quite some time for the 8880 to get any kind of succession ― the following supercar, 8448, was released five years later ― and while it had also brought new ideas and concepts, it did not quite redefine the horizon like the 8880 did. Actually, no Technic car since did so as much ― even the latest 8070 is technically inferior to 8880. But I think there is still room (and demand) for a new flagship supercar that would be its true successor, introducing lots of new concepts, parts, ideas, and packing them all in a large chassis.
Conclusion? Simply: if you can, buy this set! Experience building it is great, and one learns a lot of valuable tricks. It's also a gold mine of studded building material, and ― last but certainly not the least ― it's legendary, certainly one of the most important sets Lego Group introduced in its history, even beyond Technic. For further reading, I'd recommend the excellent article on 8880 written by Blakbird.
And now, I'm considering breaking down and rebuilding the 8880. Again. (But I promise, I will in the following weeks finally get around doing some MOC stuff, too.)
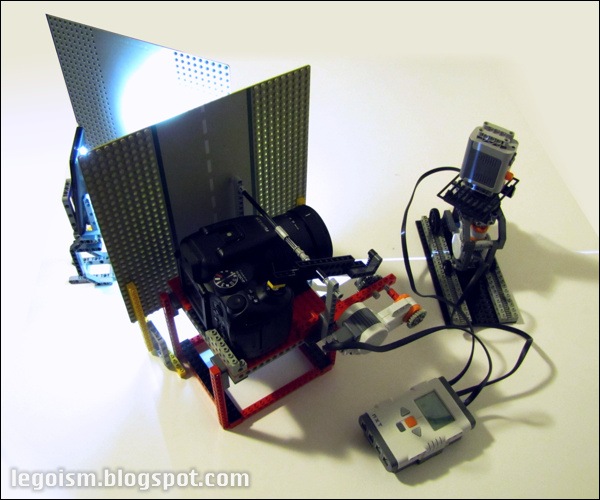
BUILDING THE 8880 (TIMELAPSE VIDEO)

