Typically, the main raison d'être of my LEGO projects is fun, but this one was actually ignited by a specific task that occured, initially unrelated to LEGO: the aim was to engrave a given digital bitmap on a flat surface of a few plastic objects. Sounds like a job for NXT & Technic duet, doesn't it?
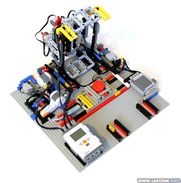 Some time ago I've attempted to build an entire NXT CNC for plastic with an electric drill and everything, and it turned out just a tad over-ambitious. This time the basic concept would remain the same ― that is, a vertical rotating drill bit which moves in 3D above the engraved surface. However, this time the mechanical requirements were significantly lower, and the machine doable using fairly regular techniques and parts. The intention was actually to build a prototype as a proof of concept (which explains its ugliness, kludges and devilish colour-clashing), and make a final, finely designed and engineered engraver afterwards, if it turns out to be used regularly.
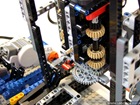
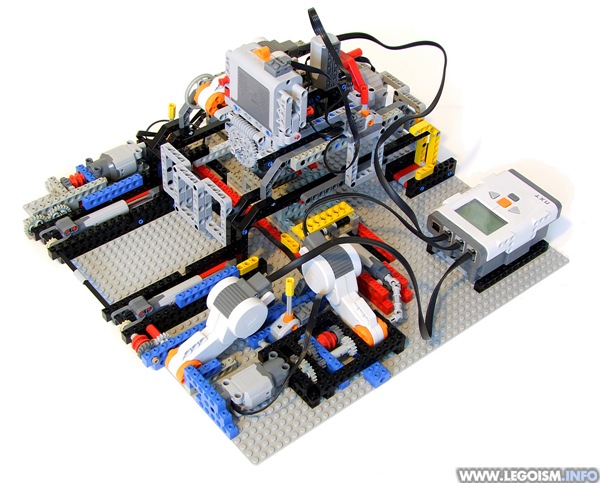
The drill bit is a standard diamond-coated one used for engraving, and as such the only part which is not LEGO. It is driven by a PF XL and M motors running through and adder to reach sufficient rotation speed without sacrificing the torque, and this structure can be moved vertically with four gear racks and 12T gears, rotated by the first NXT motor. This whole mechanism is suspended on a frame which slides on four rails built using tiles and Technic bricks, and is moved by a pair of large linear actuators running in parallel. The actuators were an obvious choice thanks to their high precision, whereas the vertical movement of the drill is not as critical, since it pushes into the surface to be engraved with the entire weight of the structure anyway.
The Y dimension is regulated by moving the object itself, again on a rail built with tiles and Technic bricks, and moved by a linear actuator ― but this time one was sufficient. The entire extents of the actuators can be used, resulting in an engraving area of slightly over 5x5 studs (40x40 mm), which is more than enough for the objects in question. They are held in place using cradles built from Technic bricks, and secured in place with stop pins. A couple of them simultaneously easily keep the object in place while the drill does its job.
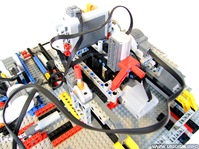 To speed up and simplify the tedious task of rotating the actuators by hand while moving the drill to a desired starting point, I've added two PF L motors, each of which can be engaged to the actuators' driveshafts when needed using the standard gearbox driving rings, operated manually. In addition, the entire drilling structure can be lifted sideways to allow access to the cradle and the object, and also to change the drill bit if necessary.
The NXT script is very simple ― it reads the movement instructions from an onboard text file. This file is beforehand generated by a short Python program I've made for the purpose, which opens a desired image file, simply rounds it to white and black pixels, and then generates and uploads the file on the Smart brick. It uses a simple scanning algorithm (left-to-right in each line, and each line top-to-bottom) to provide as consistent and precise movements as possible, reduce gear whiplash effects, axle tensions, etc.
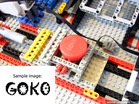
All in all, the machine works pretty well. While obviously not engraved on professional equipment, the result was fairly satisfactory and its resolution was even better than I had skeptically expected. For a moderately complex logo about 20x8 mm in size it took about ten minutes, and with some movement optimizations I haven't taken the trouble for in this prototype phase, I'm sure this could be reduced down to about six or seven. Of course, some kind of external power supply is mandatory for mass engraving (which is underway at the time of writing).
A FEW MORE PHOTOS
SHORT VIDEO

